How to Install Yoast SEO Plugin in WordPress (Easy 5-Step Guide)
Do you want to rank your WordPress blog on Google? In fact, every successful blogger uses an SEO plugin. Moreover, the most trusted one is Yoast. Therefore, this guide shows you exactly how to install Yoast SEO plugin step by step. Furthermore, you will learn the setup process, fix common errors, and apply pro tips. So, let’s start your SEO journey today!
What Is Yoast SEO Plugin?
First, let’s understand what Yoast actually does. Basically, Yoast is a free WordPress plugin that helps you write SEO-friendly content. Moreover, it checks your title, meta description, keyphrase, readability, and links. Additionally, it gives you green, orange, and red dots so you know exactly what to fix. Therefore, before you install Yoast SEO plugin, remember it is the most beginner-friendly SEO tool available today.
Why You Should Install Yoast SEO Plugin
Many bloggers ignore SEO in the beginning. However, without SEO, even great content stays invisible on Google. Furthermore, Yoast offers many strong benefits:
- First, it creates an XML sitemap automatically
- Next, it adds meta tags without any coding
- Also, it suggests internal links inside your posts
- Moreover, it analyzes readability for your readers
- Finally, it connects smoothly with Google Search Console
Because of these powerful features, you must install Yoast SEO plugin before publishing your first post.
How to Install Yoast SEO Plugin (Step by Step)
Now, let’s get to the main part. Follow these simple steps carefully.
Step 1: Login to Your WordPress Dashboard
First, open your WordPress admin panel. Then, enter your username and password. After that, click the Login button to enter your site.
Step 2: Go to the Plugins Menu
Next, find the Plugins option on the left sidebar. Then, click Add New Plugin from the dropdown. As a result, the plugin search page opens.
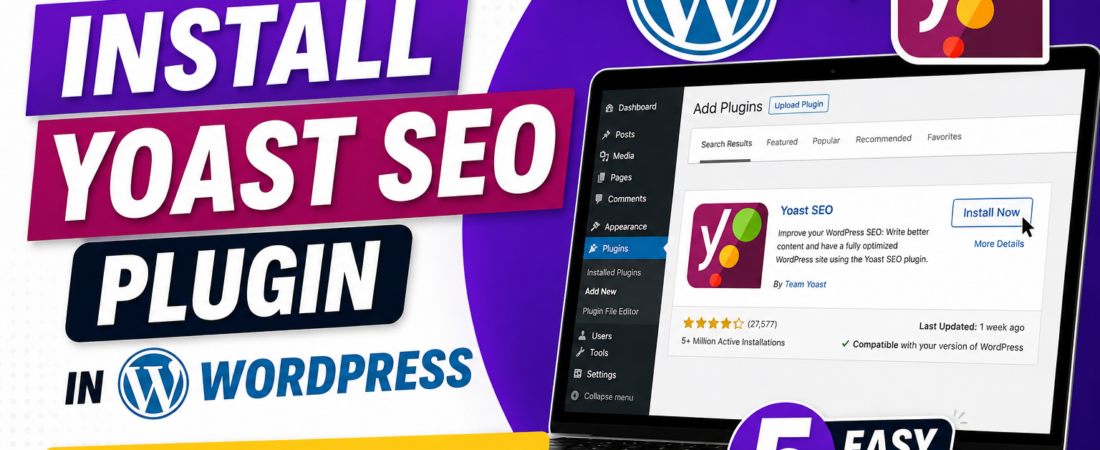
Step 3: Search for Yoast SEO
After that, type “Yoast SEO” in the search box at the top right. Within seconds, the plugin appears at the top of the results. Moreover, you will see the famous Yoast logo and over 5 million active installs.
Step 4: Click Install Now
Now, click the blue Install Now button next to Yoast SEO. Then, wait a few seconds while WordPress downloads the plugin. Additionally, do not close the tab during this short process.
Step 5: Activate the Plugin
Finally, the button changes to Activate. So, click it right away. As a result, the Yoast SEO icon appears in your dashboard sidebar. Congratulations! You just learned how to install Yoast SEO plugin successfully.
How to Set Up Yoast After You Install Yoast SEO Plugin
After you install Yoast SEO plugin, you must complete the first-time setup. First, click on Yoast SEO in your sidebar. Then, choose General > First-Time Configuration. Next, follow these simple steps:
- First, select your site type (blog, business, or news)
- Then, add your site name and tagline
- Also, connect your social media profiles
- Furthermore, upload your organization logo
- Finally, choose if you want to share usage data
In addition, visit Search Appearance and pick a title separator like a dash or pipe symbol.
Common Errors When You Install Yoast SEO Plugin
Sometimes things do not work smoothly. However, do not worry — most problems have quick fixes:
- Plugin not found: First, check your internet. Also, refresh the page.
- Activation failed: Therefore, check your PHP version. Yoast needs PHP 7.2 or higher.
- White screen error: Then, deactivate other plugins one by one to find the conflict.
- Yoast box not showing: Finally, clear your browser cache and reload the editor.
Because most issues are simple, you can fix them in minutes.
Pro Tips After You Install Plugin
Once Yoast is active, follow these tips for best results:
- First, set a focus keyphrase for every single post
- Next, write meta descriptions under 150 characters
- Also, use the keyphrase in your subheadings naturally
- Moreover, add both internal and outbound links in each article
- Furthermore, aim for green dots in both readability and SEO sections
- Finally, never stuff keywords — always write for humans first
As a result, your blog ranks faster and reaches a wider audience.
Final Thoughts
In conclusion, learning how to install Yoast SEO plugin is the first big step in your blogging journey. Moreover, the whole process takes less than 5 minutes. Therefore, install it today and start optimizing your posts properly. Furthermore, share this guide with friends who want to grow their WordPress blogs. Most importantly, remember that strong SEO begins with the right tools — and Yoast is exactly that tool.